Mini-Split Installation Project File
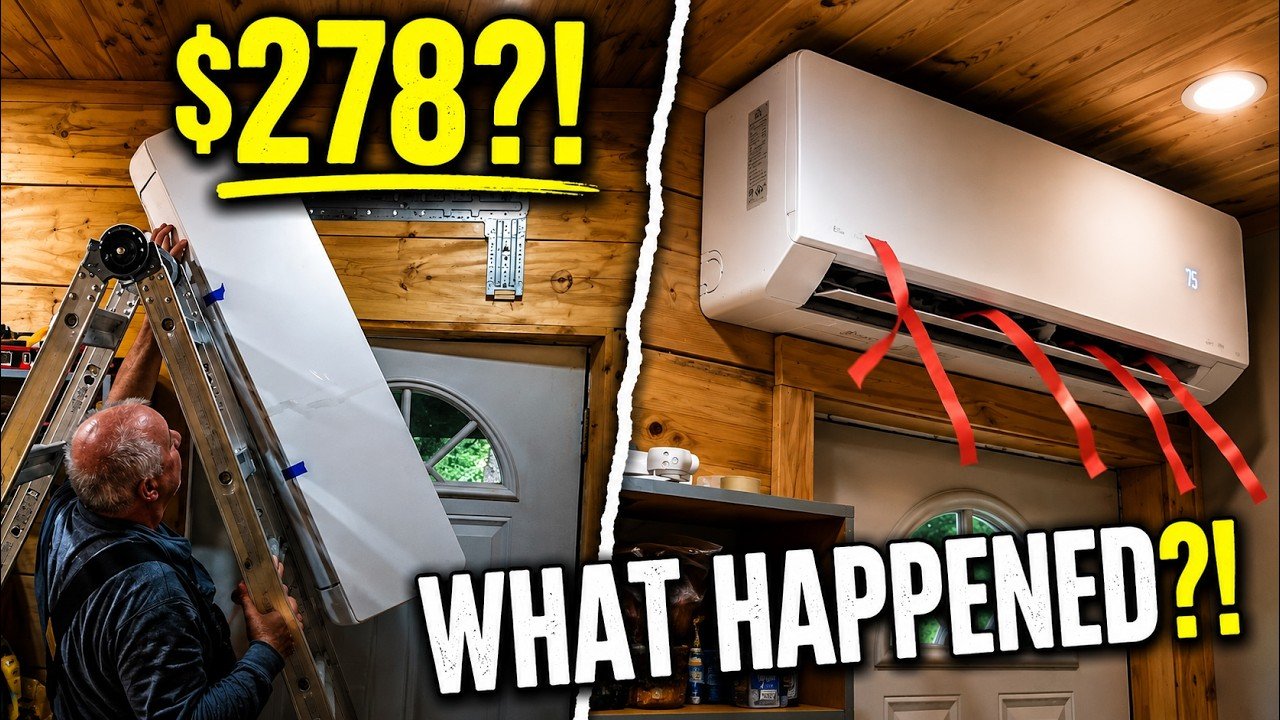
We bought a $278 mini-split heat pump because of what appeared to be a pricing mistake. Installing it in our northern New York home turned out to be a considerably bigger adventure than simply mounting the unit on the wall.
$621.16
Approximately 3 weeks
Moderate
The Story
The Parts, Tools & Materials We Actually Used
When we bought our mini-split heat pump for $278.95, we thought we'd found an inexpensive way to add heating and cooling to our home.
What we didn't realize was that buying the mini-split was only the beginning.
As we worked through the installation, we discovered that some of the included components wouldn't work for our particular installation, and a couple of mistakes along the way required additional tools and parts.
So rather than simply giving you a shopping list, we've documented everything we actually purchased and used, along with why we needed it and whether you would necessarily need the same thing for your own installation.
Important: This is a record of our installation. Your installation may require different parts, tools, electrical components, refrigerant equipment, or professional services. Some of the items listed below were purchased because of our particular installation or because of mistakes we made along the way.
Watch the Full Installation Story
We documented the entire experience in our YouTube video:
Was This $278 Mini-Split Really Worth It?
This isn't intended to be a step-by-step installation guide. It's the story of what happened when two retired homeowners decided to see if an inexpensive mini-split could become a practical addition to their northern New York homestead.
The Mini-Split
Mini-Split Heat Pump
What we paid: $278.95
What it was: The complete mini-split heat pump system we purchased for the project.
Why we chose it: The unusually low price made it an interesting experiment. We wanted to see whether an inexpensive unit could provide useful heating and cooling without spending thousands of dollars on a conventional system.
Would we buy it again?
We'll reserve final judgment until we've lived with it through a northern New York winter.
Product: https://link.amazon/B0cz6pmKJ
Parts & Materials
16-Foot Refrigerant Line Set
What we paid: $60.47
This was one of the first unexpected expenses.
The mini-split came with a refrigerant line set that was only approximately 9–10 feet long. That wasn't enough for our particular installation because we were mounting the outdoor compressor beneath the porch, some distance from the indoor head.
We therefore purchased a 16-foot replacement line set.
Do you necessarily need this?
No.
If your installation is within the length of the line set supplied with your system, you may not need a replacement.
Measure your actual installation before purchasing one.
Product: https://link.amazon/B06kyjeMJ
Refrigerant Line Set Extension
What we paid: Included in line-set/tool costs
Because of the way we ultimately routed the tubing, we created a short extension to bridge the connection between the indoor unit and the longer exterior line set.
This wasn't part of our original plan. It became necessary after we damaged one of the flare ends during installation.
Would you need this?
Probably not.
This was specific to our installation and the problem we encountered.
Wall Sleeve / Penetration Materials
What we paid: $27.99
We needed to create a protected passage through the exterior wall and down the exterior wall to the unit for the refrigerant lines, communication cable, and drain line.
Product: https://link.amazon/B0aQ2F42w
Electrical Disconnect
What we paid: $29.99
The outdoor unit required an exterior electrical disconnect.
Product: https://link.amazon/B0eB4EXvU
Electrical Wire & Electrical Materials
What we paid: $0
This included the wire and miscellaneous electrical materials required to connect the outdoor unit to our electrical panel and disconnect. We had all of this on hand already.
Because electrical requirements vary by system and installation, we strongly recommend following the manufacturer's specifications and applicable electrical code rather than using our installation as a template.
Tools We Purchased
This is where our list gets interesting.
Not every tool below is something we would tell another homeowner to automatically purchase. Some were specific to the refrigerant system, while others were purchased because we discovered that the inexpensive tools available to us weren't something we wanted to trust with the installation.
R-32-Compatible Vacuum Pump Kit
What we paid: $149.99
This was one of the larger unexpected purchases.
Our mini-split uses R-32 refrigerant, which has different service requirements than some older refrigerants. We didn't have a compatible vacuum pump and couldn't find one locally that we could borrow.
So we purchased a complete vacuum kit online.
The kit included:
-
Vacuum pump
-
Manifold pressure gauges
-
Hoses
-
Adapters
-
Fittings needed to connect the equipment to the system
Why did we need it?
Before releasing the refrigerant into the system, the refrigerant lines need to be evacuated and tested to ensure the system is properly sealed and free of air and moisture.
Would you need to buy one?
Not necessarily.
If you already own compatible equipment or have access to properly rated equipment, purchasing an entire kit may not be necessary.
For us, buying the kit was the most practical option because nobody we knew had compatible equipment available to borrow.
Product: https://link.amazon/B00dX3erF
Quality Flaring Tool Kit
What we paid: $86.07
This purchase came about because of one of our mistakes.
During the installation, we damaged the flare on the high-pressure line.
We looked at several inexpensive flaring tools, but the reviews gave us very little confidence that they would produce the quality flare we needed.
So we purchased a much better kit that included:
-
Flaring tool
-
Tubing cutter
-
Deburring / cleanout tool
-
Associated accessories
Would you need this?
Possibly—but hopefully not because of the same reason we did!
If your system uses factory-flared connections and everything goes according to plan, you may never need to make a new flare.
But if you are going to work with refrigerant tubing, having the proper equipment available is considerably better than trying to improvise after something goes wrong.
Product: https://link.amazon/B00E0feAE
Tubing Cutter
What we paid: Included with flaring kit
Our tubing cutter came as part of the flaring kit.
It allowed us to make a clean, square cut on the copper tubing before creating the replacement flare.
Deburring / Cleanout Tool
What we paid: Included with flaring kit
This was also included with the flaring kit.
After cutting the tubing, the end needs to be properly prepared before creating a new flare.
Other Materials
Depending on the final installation, our miscellaneous materials included:
-
Screws and fasteners
-
Weatherproof fittings
-
Electrical connectors
-
Tubing insulation
-
Cable management materials
-
Sealant
-
Wall penetration materials
-
Miscellaneous hardware
Total miscellaneous materials: $67.49
What We Would Do Differently
This may actually be the most useful section of the entire project.
If we were starting over, there are several things we'd know before ordering anything.
1. Measure the line-set distance first.
The supplied line set wasn't long enough for our installation.
Knowing the required distance beforehand would have allowed us to plan for that expense from the beginning.
2. Don't underestimate the importance of good tools.
The inexpensive flaring tools looked attractive until we started reading the reviews.
After damaging a flare, we decided that this was not an area where we wanted to save money.
3. Make sure you have the proper vacuum equipment.
Because our system uses R-32 refrigerant, the equipment we needed wasn't something we could simply borrow from a friend with an older HVAC setup.
Knowing that ahead of time would have prevented another surprise purchase.
4. Slow down when mounting the indoor unit.
Our damaged flare happened while we were maneuvering the indoor unit into position.
It was an expensive reminder that getting something into place isn't necessarily the same thing as getting it into place carefully.
5. Double-check electrical connections before energizing anything.
Our final electrical mistake gave us one of the biggest scares of the entire project.
Fortunately, the protection built into our electrical system did its job and we were able to identify and correct the wiring problem.
What Did the Mini-Split Actually Cost?
This is where our original $278.95 purchase price became a much more interesting number.
| Item | Our Cost |
|---|---|
| Mini-Split Heat Pump | $278.95 |
| 16' Line Set | $60.47 |
| Flaring Tool Kit | $80.06 |
| Vacuum Pump Kit | $143.99 |
| Electrical Materials | $0 |
| Disconnect | $25.34 |
| Wall / Mounting Materials | $0 |
| Miscellaneous Materials | $67.49 |
| Total Project Cost | $656.30 |
The important thing to remember is that our total isn't necessarily your total.
Some of our additional expenses were caused by the specific layout of our home, some were simply materials required for our installation, and some came directly from mistakes we made along the way.
That's exactly why we've documented the project this way.
Our Bottom Line
We started this project because $278.95 seemed like an almost unbelievable price for a mini-split heat pump.
The installation turned out to be considerably more involved than we expected.
But that's also what made the project worthwhile.
We learned a lot, added some useful tools to our workshop, and eventually ended up with a working system that may make life a little easier here on our homestead.
Whether it turns out to be a genuine bargain won't be determined on installation day.
The real test will be living with it.
Can this inexpensive mini-split handle a northern New York winter?
And after everything we put into it...
was it really worth it?
That's what we'll be finding out over the months ahead.
A Note From Al & Val
This page isn't intended to tell you how to install a mini-split.
It's here to show you what our real-world project looked like—including the things that didn't go according to plan.
If you're considering a similar project, we hope our experience helps you plan a little better, budget a little more realistically, and maybe avoid a few of the mistakes we made along the way.
Thanks for coming along with us.